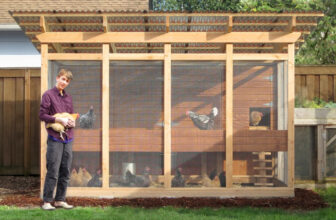
A covered sandbox is a good play area because it is well-shaded and free of twigs, leaves, and rain. Every season is play season with one of these and you can make a sandbox on your own. This sandbox has corner seats for adults and kids alike to sit down when they feel like it. The opening is also more than three feet wide so children can go in and out with ease and adults don’t have to duck too low when they want to join their kids in the fun. This guide on how to make a sandbox will help you do a good job on the project.
What wood is best for sandbox?
The best wood for a sandbox is cedar because it is rot-resistant and naturally splinter-free. You can also use pressure-treated lumber, but make sure it is rated for ground contact. Avoid using lumber that has been treated with chromate copper arsenate (CCA) because it may leach harmful chemicals into the sand.

Tools & materials required in making a sandbox
Before you start, you need to have good tools. If you do not have, for example, saws or drills, be sure to buy them. Before buying look at the chop saw and cordless drill reviews or other missing tools.
Making a sandbox will require the following tools and materials:
- 2 sheets of 4 x 8 x 1/2inch plywood;
- 2 pieces of 2 x 8 x 12inch pressure treated boards;
- 7 pieces of 2 x 4 x 10inch pressure treated board;
- about 25 screws with 1inch trim heads;
- about 90 screws with 3inch trim heads;
- screws for main building;
- screws for the plywood roof;
- 30square feet of landscape fabric;
- outside paint;
- painters tape;
- kid-safe sand;
- staple gun and galvanized staples;
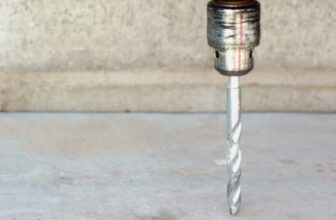
- circular saw, cordless drill;
- chop saw;
- framing square or speed square;
- 2 pieces of 7/64inch wood bits;
- tape measure;
- roller and paintbrush;
- screw gun with relevant tips.
The procedure for construction
Step 1
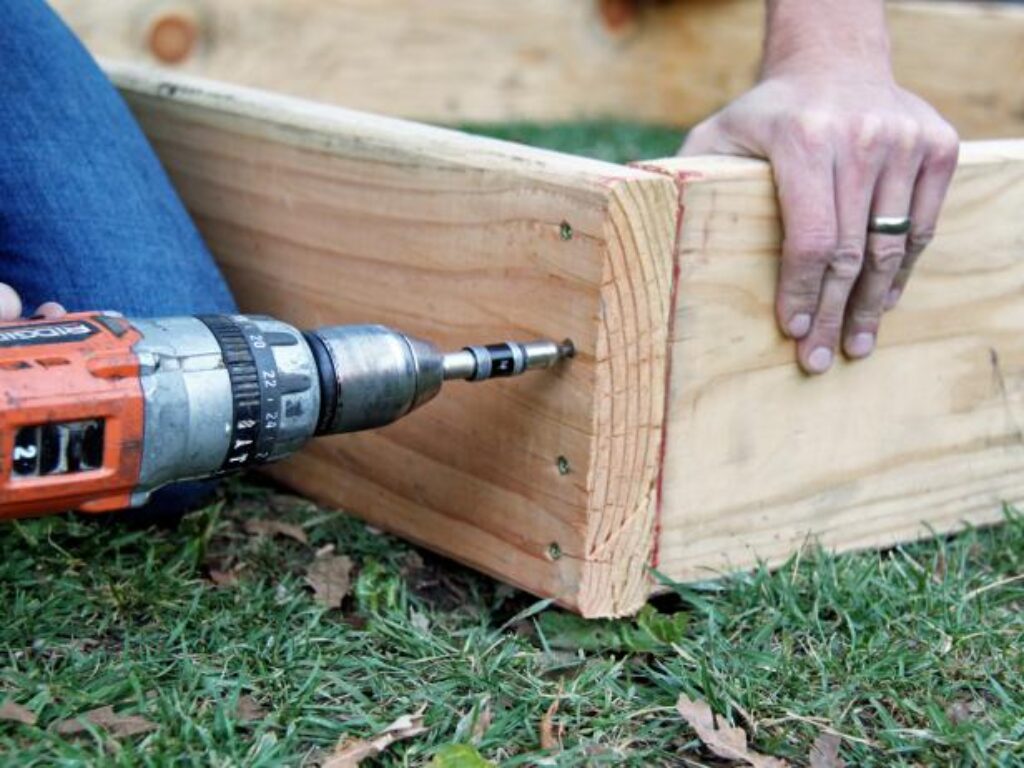
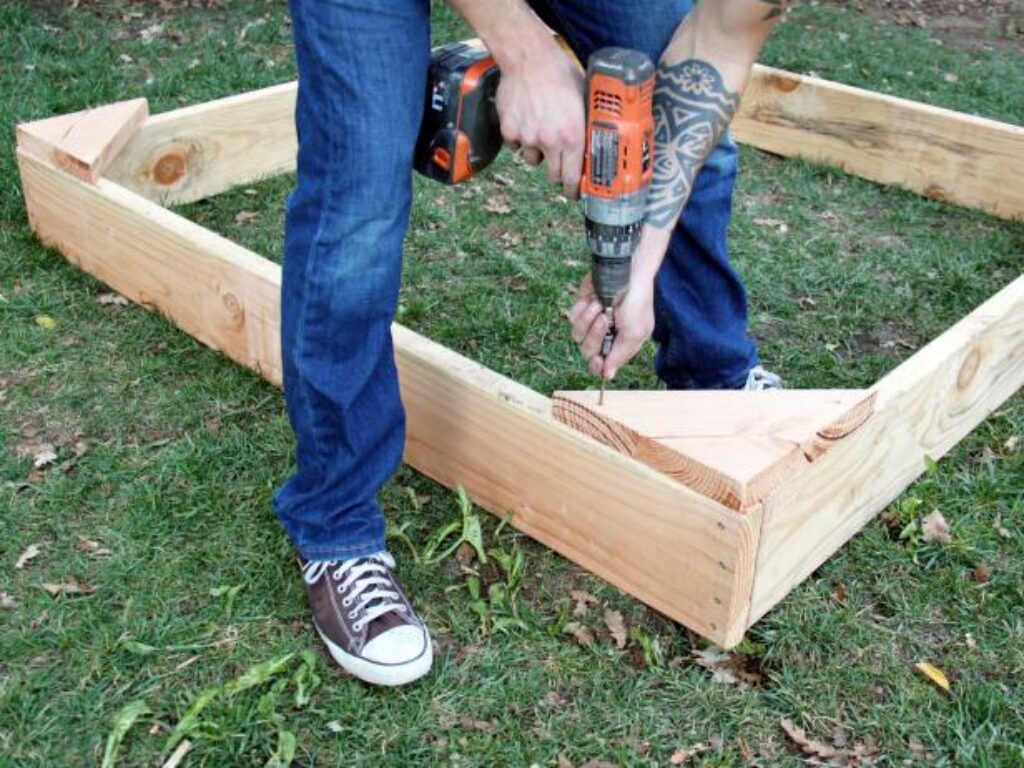
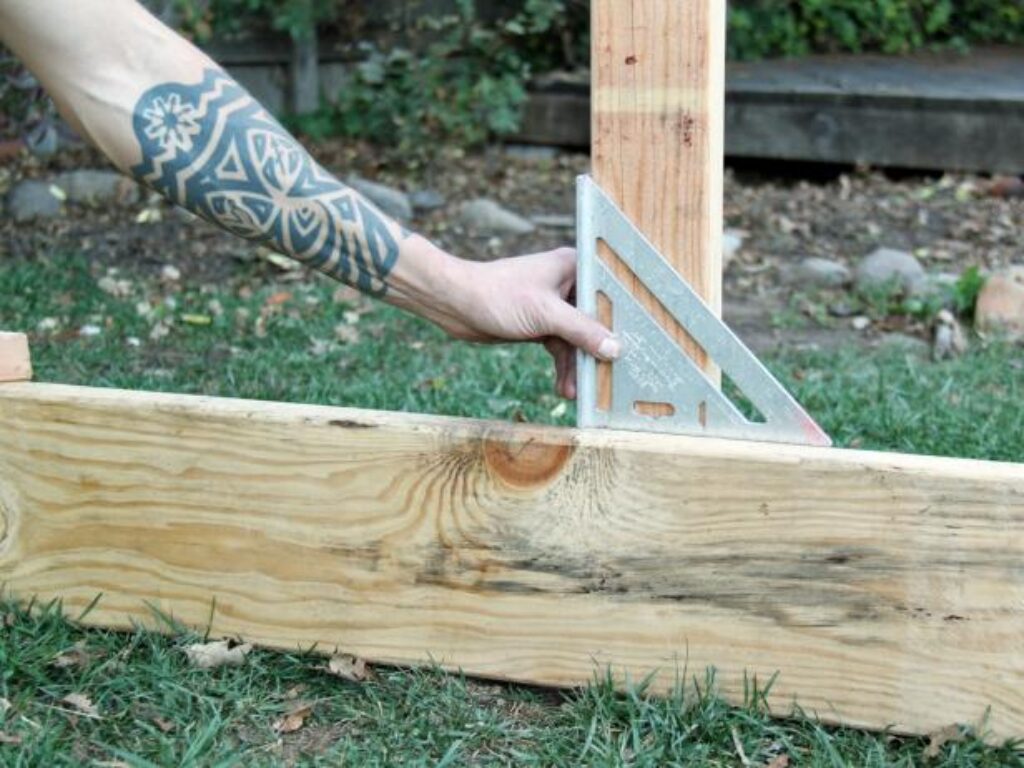
Construct the main box: cut the 2 x 8 boards into two 60inch pieces and pre-drill vertical holes on the face of the 4 corners of each piece. Cut the 2 x 8 again into two pieces of 57inches and fit into the pre-drilled boards. Screw everything together with a framing square to ensure accuracy.
Step 2
Include corner seats: cut four triangles out of the remaining 2x 8 boards to about 10-1/2inch x 10-1/2inch x 15inch pieces. Pre-drill a hole into each triangle, place them at the four corners of the box, and drill them down.
Step 3
Include vertical roof supports: cut the 2 x 4 into two 5inch pieces. On opposite sides of the box, pre-drill and screw each of the boards to the box. Use a framing square to ensure it is upright.
Step 4
Fix horizontal roof support: the next step to make a sandbox is adding one more piece of 5inch 2×4 board as a horizontal roof support. About 3/4inch down from the top of the 2 x 4 x 5inch vertical support, pre-drill a hole on either side and put screws.
Step 5
Fix roof cross supports: cut the 2 x 4 board into four 5-3inch pieces and make a horizontal mark 12inches down from the top of the 2 x 4 x 5inch vertical support. Pre-drill a hole in the center of one of the boards and screw it against the 5inch vertical board.
Step 6
Fix opposite piece: repeat on the other side.
Step 7
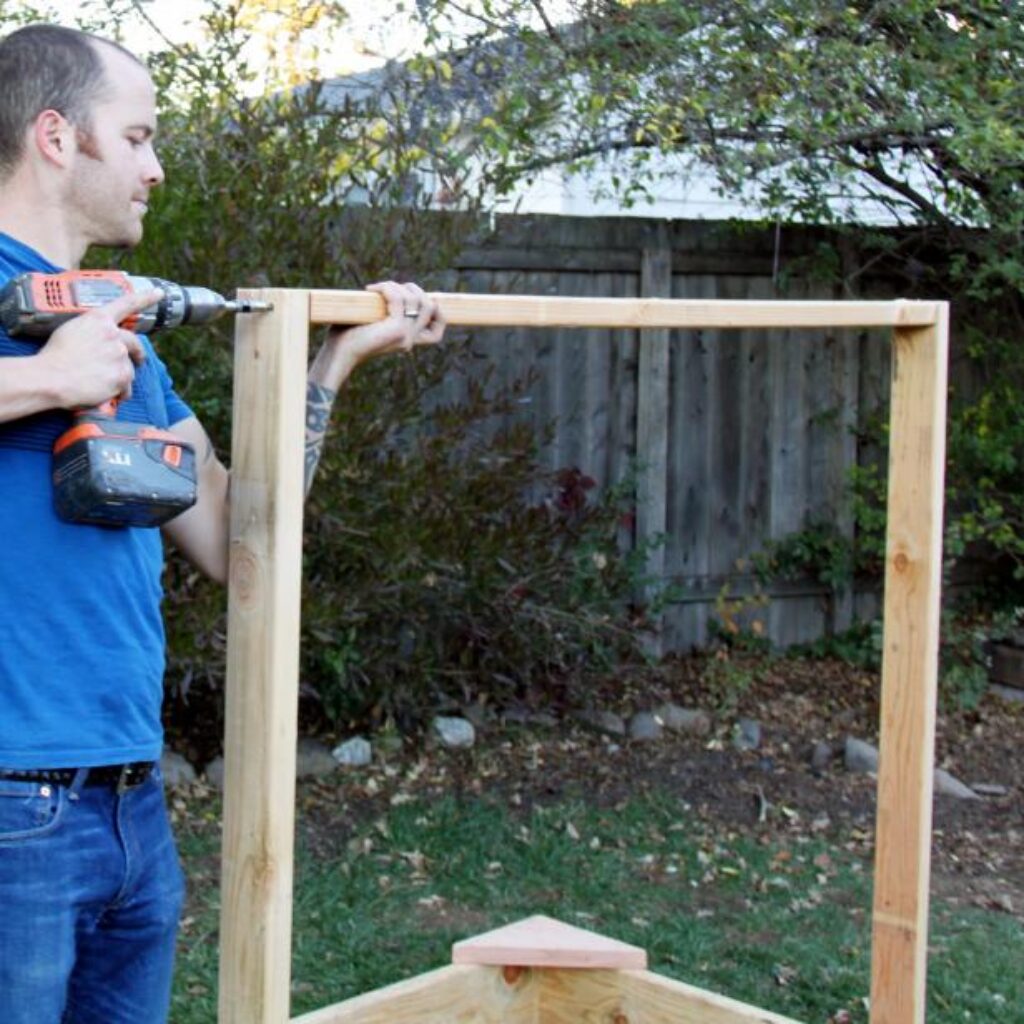
Finish roof frame: fit the other 5-3inch pieces between the standing cross pieces and screw them.
Step 8
Cut rafters: cut the 2 x 4inch into six pieces of 40inches and arrange them to meet at the top.
Step 9
Add rafters: fix the rafters perfectly and screw them together at the peak.
Step 10
Fix plywood roof: measure the face of the slope and cut appropriate plywood. Make it bigger if you want it to hang.
Step 11
Paint: tape off anything you don’t want to paint then paint everything else with outside paint.
Step 12
Fix landscape fabric: roll and staple landscape fabric at the bottom.
Fill sandbox with sand: fill with sand as much as you want and this is the last step to making a sandbox.