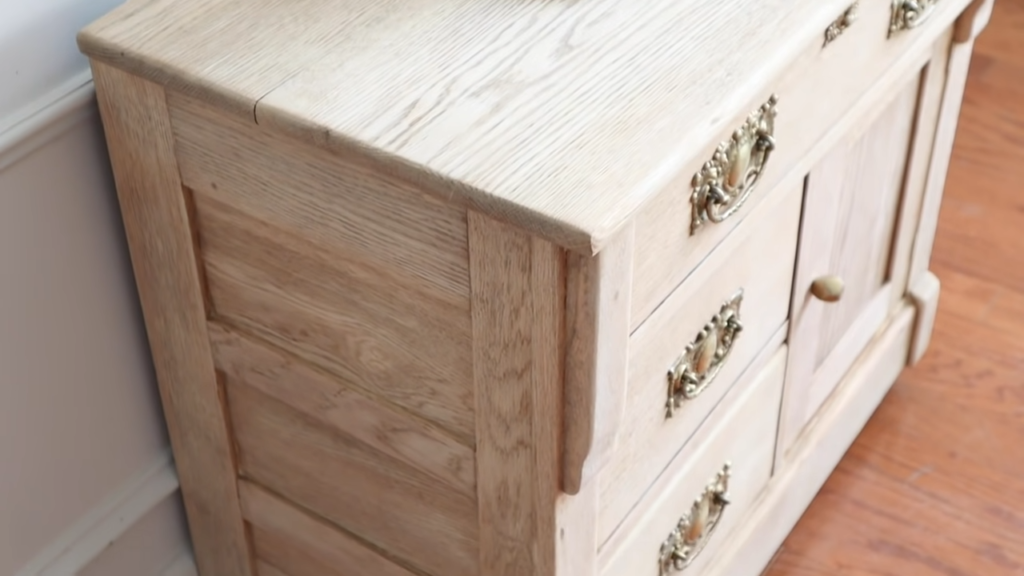
Staining wood is a popular way to enhance its natural beauty, but over time the color of the stain can start to fade or darken. This can be especially noticeable in high-traffic areas where dirt, dust and other debris accumulate on the surface of the wood. If you want to restore your stained wood back to its original lightness, this guide will provide step-by-step instructions for doing so. By following these steps, you can maintain the natural beauty of your wooden surfaces while ensuring that they stay looking their best for years to come.
Step 1: Preparing the Wood
The first step to lightening stained wood is to identify the type of wood and the stain you want to lighten. This will determine which techniques are most suitable for restoring your wood back to its original lightness. Different types of wood, such as hardwoods like oak and maple, require a specific approach for lightening each type of wood. Each type of wood also has different grain patterns that can affect how well certain techniques work. For example, hardwoods with an open grain pattern are more susceptible to bleaching agents than woods with a tighter grain pattern.
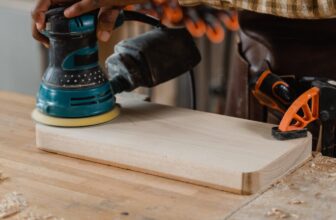
Before you begin, it’s important to prepare the wood. Begin by lightly sanding the surface of the stained wood with 220 grit sandpaper. This will help remove any dirt and debris that may be embedded in the wood’s pores. Once you’ve finished sanding, use a soft cloth to remove any dust or residue.
Step 2: Applying the Lightening Agent
Once the wood is prepared, you can apply a lightening agent to help restore its original color. The most common approach is to use a diluted bleach solution consisting of 1 part bleach and 10 parts water. For hardwoods, it’s best to apply the solution with a paintbrush or foam brush as it more evenly distributes the bleach throughout the wood grain, allowing it to penetrate the wood’s pores more deeply. Alternatively, you can use a spray bottle and spritz the solution onto the surface. However, this method doesn’t provide as much control over how much of the lightening agent is applied to each area of the wood.
It is important to exercise caution when applying a lightening agent on stained wood. Too much pressure can damage the wood, causing it to split or crack, which can lead to further deterioration of the surface. Instead, use gentle pressure when brushing or spraying the lightening solution onto the wood, allowing it to sink into the pores but not over saturate the wood fibers.
After applying the lightening agent, allow it to sit on the surface of the wood for several minutes. This will give the bleach solution enough time to break down the stains and start lightening them.
Step 3: Let the wood dry completely
After applying the lightening agent, it is crucial to allow the wood to dry completely before proceeding with any other steps. If the wood is not allowed to dry thoroughly, the bleach solution can remain trapped within the wood fibers and cause further staining or discoloration. Furthermore, moisture trapped in the wood fibers can lead to rot, warping, and other costly damage.
It’s important to note that the amount of time required for the wood to dry can vary depending on the type of wood and the climate where you live. If you live in an area with high humidity, it may take longer for the wood to dry.
Step 4: Applying a Clear Finish
Once the wood has been prepped and the lightening agent and the wood dried completely, it’s time to add a clear finish to protect the wood. The two most common types of clear finishes used on stained wood are polyurethane and oil-based paint. Both of these finishes will help protect the wood while enhancing its natural beauty.
When applying polyurethane, start by cleaning the surface of the wood with a lint-free cloth dampened in mineral spirits or paint thinner. Make sure to remove all dust and dirt before continuing. Once you’ve done this, you can apply either a water-based or oil-based polyurethane using a high-quality brush or roller. Apply the polyurethane in thin, even coats, allowing each coat to dry thoroughly before adding another. When you’ve finished applying your desired number of coats, allow them to dry completely before touching the surface of the wood again.
Oil-based paint is also an effective way to protect your stained wood while adding color and depth to its appearance. Start by lightly sanding your stained wood with 220-grit sandpaper before cleaning off any dust or debris with a damp cloth. Then mix your chosen oil-based paint according to instructions on the product label and apply it in thin coats using a high-quality brush or roller. As with polyurethane, make sure that each coat is completely dry before adding additional layers. Once your desired number of coats has been applied, allow them to dry for at least 24 hours before touching them again.
Conclusion
Both polyurethane and oil-based paints can help restore much of the original lightness of stained wood while also providing protection from wear and tear over time. By following these simple steps, you can restore your stained wood back to its original lightness without sacrificing its natural beauty! Importance of removing all stains before sealing or coating the wood can not be overemphasized. It is important to remove all dirt, grease, and other contaminants before sealing or coating the wood so that it will look its best and last for years to come. Lastly, always use a high-quality product when applying sealants and coatings to stained wood to ensure maximum protection and longevity. Good luck!