Sanding wood may seem like a simple enough task, but if you want professional-looking results, there’s more to it than just running sandpaper over the surface. In this blog post, we’ll teach you how to choose the right sandpaper and use the correct technique so that your next project turns out perfect. So whether you’re new to woodworking or a seasoned pro, read on for tips and tricks that will help you achieve amazing results!
What’s sanding and why it’s needed in the woodworking
Sanding preps the topmost layers of wood so you can have a consistent, elegant finish. Usually, sanding occurs before painting or staining to make sure the pigments go on evenly. Sanding can also buff out scratches and other irregularities from wood.
Choosing the Right Sandpaper
Choosing the correct sandpaper is critical when sanding wood. Here are a few elements to take into account:
- The type of wood you’re working with: Soft woods like pine will require different sandpaper than harder woods like oak.
- The finish you are going for: If you plan to paint or stain the wood, use a different sandpaper rather than if your goal is only a smooth finish.
- The condition of the wood: If the wood is very rough, opt for coarser sandpaper. However, if it’s only slightly rough, finer sandpaper can be used.
Grit and grit sizes
The grit number on the sandpaper corresponds to the size of the sand particles. The lower the number, the coarser the sandpaper and the more material it will remove. For example, coarse sandpaper is typically used for heavy-duty jobs like removing paint or rust, while fine sandpaper is better suited for delicate work like refinishing furniture.
The many different types of grits available each have their own function. Here are some of the most commonly used:
If you’re wondering what type of sandpaper to use for your next project, here’s a quick guide:
- 80 grit is the coarsest sandpaper and will remove material quickly.
- 120 grit is a medium-coarse sandpaper that’s good for rough sanding.
- 180 grit is a medium-fine sandpaper that’s perfect for final preparation before painting or staining.
- 220 grit is the finest sandPaper available and ideal for finishing work. It will create a smooth, even surface.
What is a sanding block?
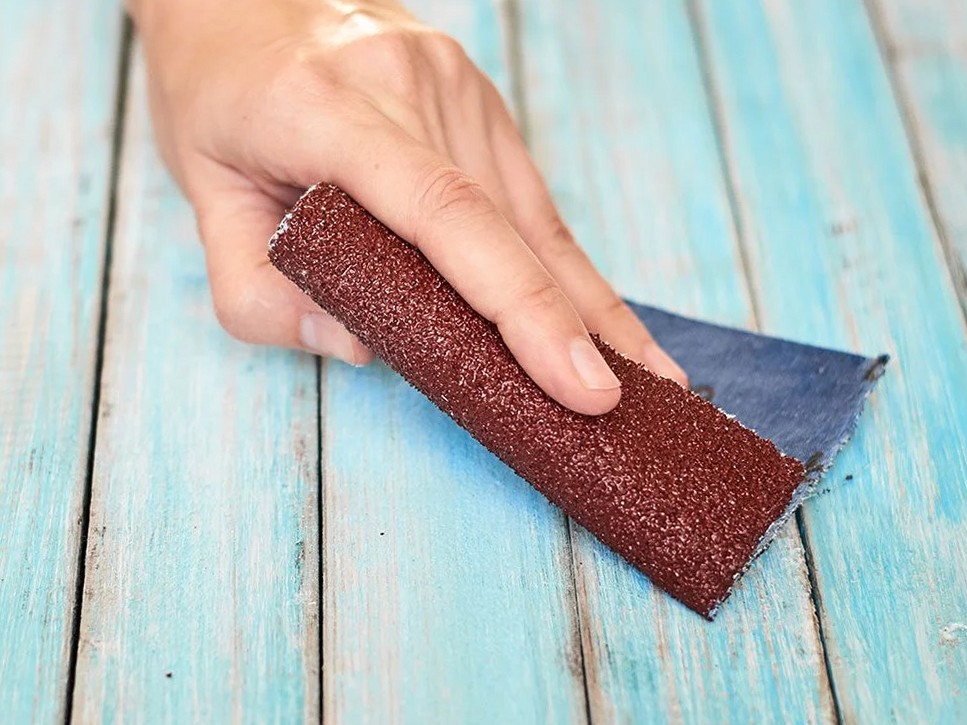
To create a more polished woodworking project, sanding blocks are key. By holding the block against the sandpaper while you work, it’s easier to evenly distribute paint or varnish for a consistent look. Plus, doing this helped me avoid tearing the fragile paper.
See how sanding without a block works for you. If it seems like the paper is tearing or not grinding down evenly, then using a block will help.
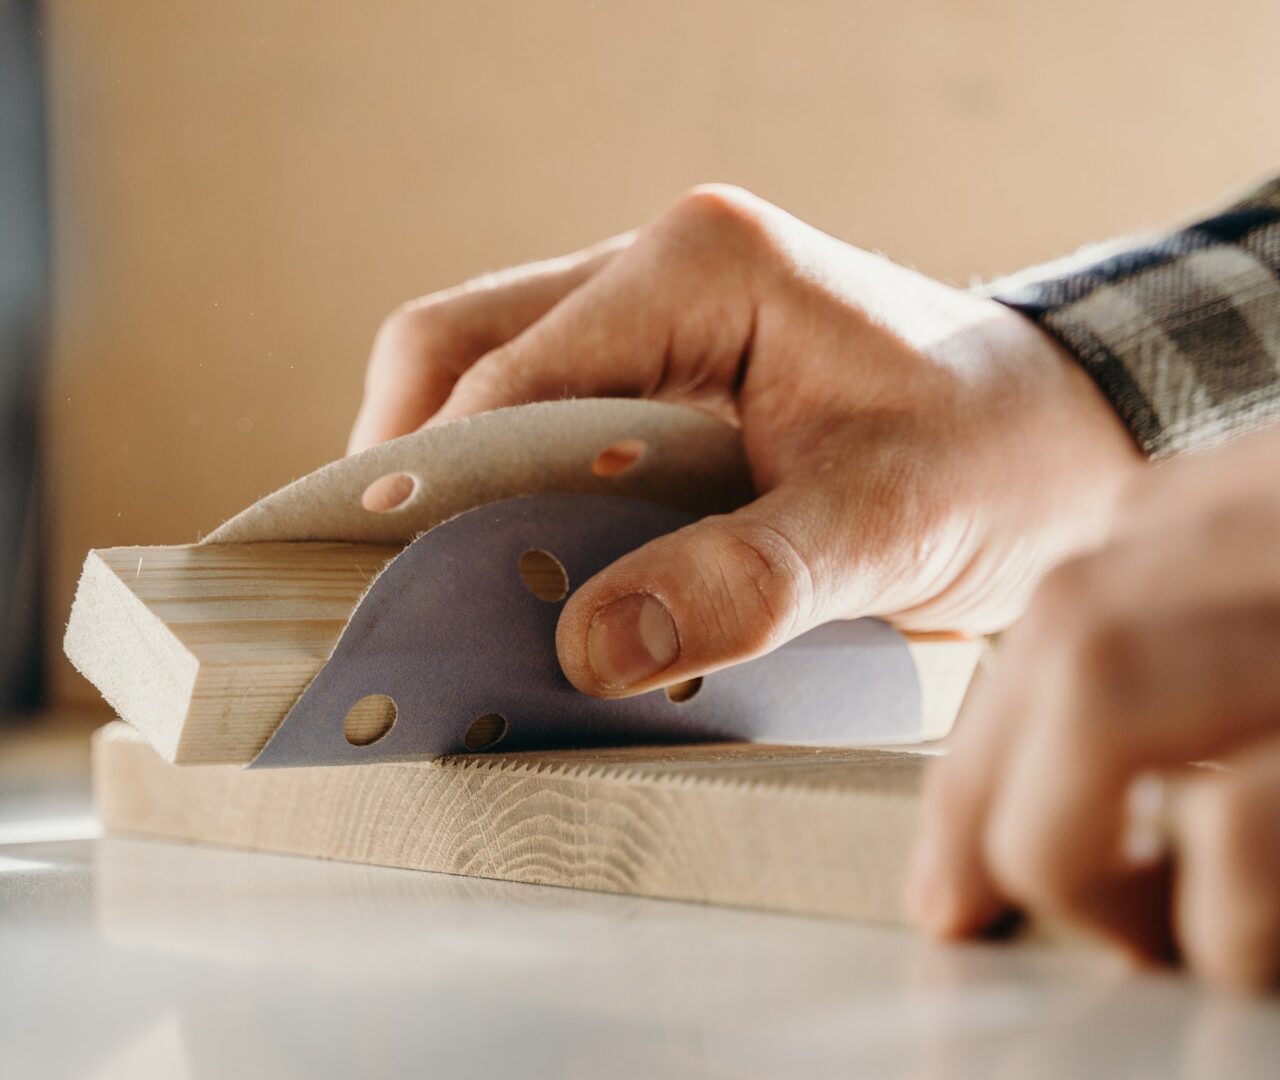
Using the Right Technique
With the correct sandpaper type and a sanding block in hand, you’re ready to start sanding! Use these tips for the best results:
- Begin with coarse sandpaper and then switch to finer grits as necessary. This will help you remove any roughness quickly and make it easier to achieve a smooth finish.
- Use gentle, even strokes when sanding so that you don’t create more work for yourself later on.
- Don’t forget to sand along the grain of the wood so that you prevent scratches and unevenness.
- If you’re using an electric sander, keep it moving constantly to avoid deep scratches in the wood.
Best Sanding Techniques for Different Types of Wood
Keep in mind that the type of wood will determine what sanding technique should be used. Use this guide to make sure you’re getting the best results:
Pine
If you’re sanding pine, begin with a coarse grit (80 or 100) and move to the finer grit (120 or 150) as needed. Remember to sand along the grain instead of against it to prevent scratches.
Oak
Oak is tougher than pine, so you’ll require slightly finer sandpaper (180 or 220). You can also use a power sander rather than hand-sanding for this type of wood. However, take your time and make sure to sand with the grain to avoid harming the wooden surface.
Cherry
Like oak, cherry is another hardwood, so employing fine grit sandpaper (200+) will be necessary. As well, you can also use the power sander; though you must be cautious, not to be so liberal that you end up ruining the woodwork altogether.
Sanding Woodwork by Hand vs. Using a Machine
There are two ways to sand wood: by hand or with a machine. Here’s an overview of the pros and cons of each method.
When sanding delicate woods or finishes, it is much easier to control the process by hand. However, this option can be very time-consuming and may not be ideal for large projects.
Sanding by hand is significantly more slow-paced than using a machine. If you have a big project or timeframe, opt for the machine; however, sanding machine newbies be warned: it’s easy to mess up the wooden material if not used correctly. Make sure you know what you’re doing by reading the manual before operating!
Sanding with power tools
If you want your woodworking project to be completed quickly, efficiently, and correctly – use power tools. It’s essential that you start off with coarse grit sandpaper and work your way up to finer grit sandpaper as required. Additionally, always sand following the grain of the wood; this will avoid unsightly scratches.

There are several different kinds of power sanders available, and each has its own set of pros and cons. Here are some of the most popular models:
Orbital sanders
These sanders are perfect for quickly and efficiently sanding large areas. Their random orbital motion is especially useful in preventing swirl marks.
Belt sanders
Belt sanders are ideal for speedily removing great layers of material, although they can be tricky to utilize if you don’t read the directions first.
Palm sanders
Palm sanders are a great option for sanding tight spaces or curved surfaces. They’re small and easy to use, making them perfect for any project.
Detail sanders
Detail sanders are ideal for final sanding before painting or staining. Because they have a small head, they’re perfect for getting into tight spaces, and sanding curved surfaces is also no problem with these little guys around. They’re also great at removing any last scratches or irregularities from the wood surface.
Disc sanders
Disc sanders are ideal for quickly removing large amounts of material. Their circular motion helps to prevent swirl marks.
When to Stop Sanding
When sanding wood, the objective is to create a level surface. However, resist the urge to sand until the wood is completely smooth; over-sanding can damage it.
The best way to know when you’re done sanding is to rub your hand over the wood surface. If it feels smooth, then stop! If not, keep going until the desired feeling is achieved.
Make sure to vacuum up the dust you create while sanding before continuing on to the next step.
Sanding mistakes to avoid
Now that you understand the basics of sanding, let’s move on to some common errors people make. If you can avoid these pitfalls, you’ll produce superior results and create woodworking projects that are stunning.
1. Not Vacuuming Between Grits
A crucial step in the sanding process is to vacuum between each grit; if you forgo this, debris will accumulate and potentially scratch the wood. Not only does this add hours to your project time-wise, but it also leaves your work looking less than ideal.
2. Not Wiping Down the Wood
A mistake commonly made is not wiping the wood after sanding it. This dust film can ultimately interfere with the finish if left on the wood surface. To avoid this issue, be sure to wipe down the wood using a damp cloth after each sanding session has been completed.
3. Sanding in the Wrong Direction
Always sanding with the grain will result in a much smoother surface without any scratches. If you’re unsure of the direction, take a look at the wood’s grain and follow it when sanding.
4. Not Changing Grits
Achieving a smooth, level surface on your project requires regular changing of grit paper. Using only one type of grit will result in an uneven texture and make it more complicated to apply the finish. Always begin with a coarse option (80 or 100) before gradually moving to finer sandpaper (120 or 150).
5. Not Testing the Finish
Before you apply the finish to your project, test it out on a small area first. This will give you an idea of how it looks and whether you need to make any adjustments. Once you’re happy with what you see, go ahead and finish up the project!
6. Applying Too Much Finish
Cut down on the hassle of drips and runs by applying a thin, even coat of finish to your project. Allow it to dry completely for optimal results.
7. Not Letting the Finish Dry
One of the most common mistakes people make when refinishing furniture is not letting the finish dry completely before sanding it. This can cause the finish to become gummy and difficult to work with. Be sure to let the finish dry for at least 24 hours before sanding it.
8. Not Cleaning Up
Your work area must be cleaned up after you finish sanding and applying the chosen finish. This will help to stop any possible damage from dust or debris. Make sure to use a vacuum on all of the dust and wipe down all tools and materials you used.
Sanding is a crucial step in any woodworking project. By taking the time to sand the wood properly, you create a smoother and more durable surface. Just be sure to use the right sandpaper, sanding block, and technique for the job. With some practice, you’ll be an expert in no time!