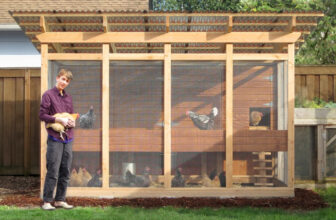
Space crunch has become one of the most common problems and challenges in contemporary times, especially for city dwellers. In some instances, it is so found that the kitchen is so small that you are not getting the necessary space to store the pots, utensils, and other items that you will use frequently in the kitchen. In such instances, you can opt for the homemade pot racks that will produce additional space for storing the necessary items and will come as space friendly and economical solution to your problem. Here is the guide to getting the DIY hanging pot racks
The necessary tools and materials
You should only start the process of constructing the DIY hanging pan rack, after arranging the necessary tools and materials. Else, you will get stuck midway and after that, it will turn impossible for you to move ahead to complete the task.
- Bar Clamps
- Sandpaper
- Hacksaw.
- S-Hooks
- 4 pieces of Screw Hooks
- Brad nails
The steps for constructing the homemade pot racks
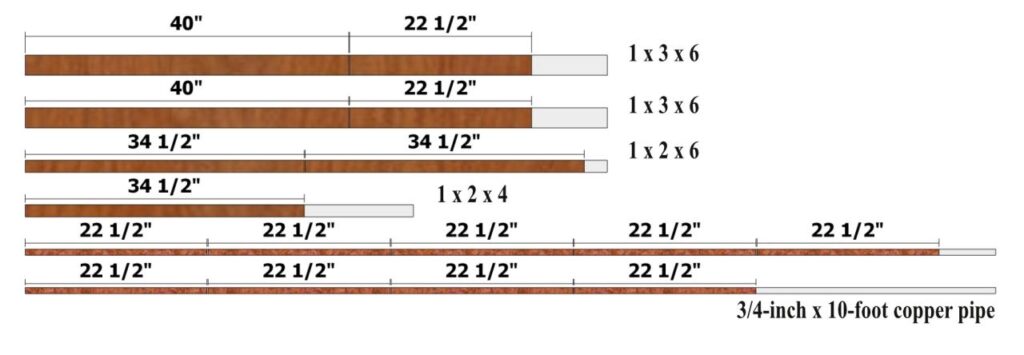
Step 1 – Cutting the blocks
- Cut 3 side rails with dimensions of 3/4 x 2.5x 40 Inches
- You need to cut 3 support rail structures in dimensions 3/4 x 1.5x 34.5 Inches
- The end rails should be cut in dimensions 3/4 x 2.5x 22.5 inches
- 9 Copper pipes, cut in 3/4 x 22.5 inches
- 2 Chains in length as needed
Step 2 – Preparing the Rails
You will have to attach the flush of the support rail to the bottom edge and center it on one of the side rails and attach the pieces, using glue. This step is to be repeated to the other side assembly, along with the side rail that is left over. The center of the last support rail should be flushed on one of the edges of the 2 end rails and it is to be glued for attaching it.
Step 3 – Base Assembly
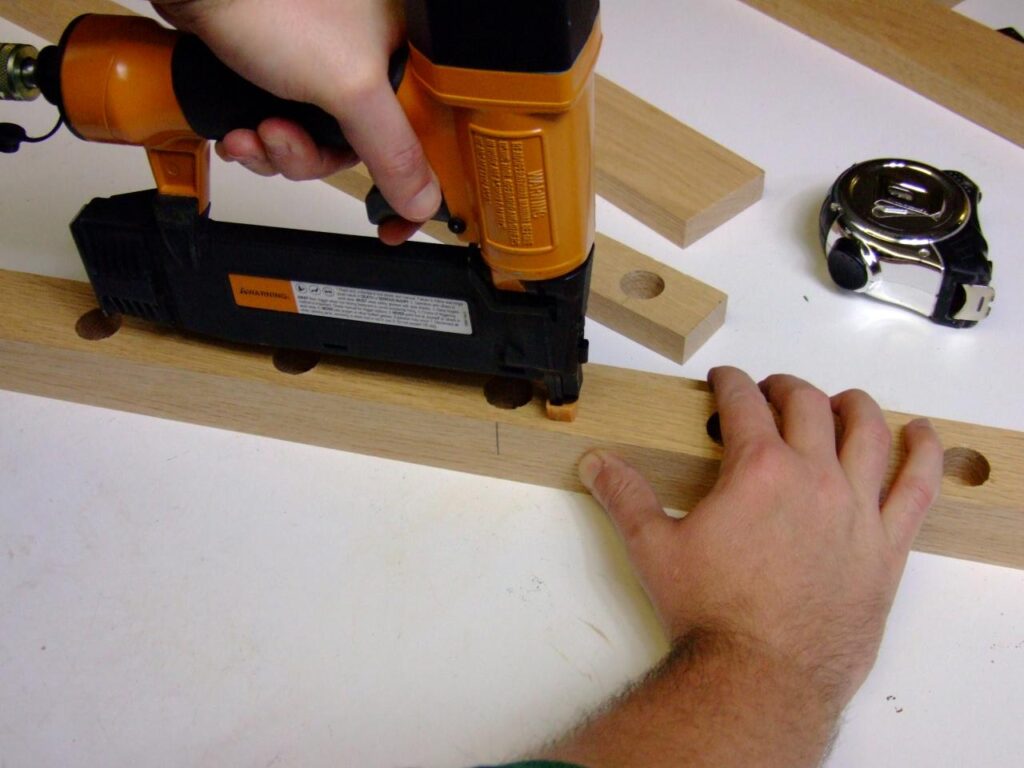
The flush of the end rails is to be positioned on the bottom edge of one of the side rails, against the terminals of the support rail that has been attached to the side rail. You will have to ensure that you are positioning the assembly of the end rail so that it is supporting the bottom rails. You will have to drill 3 to 8-inch countersunk holes for the furniture buttons and using the glue and screws, it should be attached

Once you have cut the copper pipe as per the instruction stated above, you need to pass the parts of the pipe, through the support rail holes that have been attached to the assembly. To ensure that the pipe smoothly passes through the holes, you may apply liquid soap to a small extent or you may paste wax inside these holes.
The remaining side rail needs to be positioned with the assembly of the side rail, along with the flush of the support rail resting on the side rails and the pipe has been passed through the holes in the support Rail. Subsequently, countersunk holes of 3 to 8 inches are to be drilled and attached with the help of screws and glue.
Step 4 – Installing the hardware and giving the finishing touch
You will have to apply glue to the buttons of the furniture and on the side rail faces, the screw holes are then inserted. Drill the pilot hole in the dimension of 3.5 inches and drive the screw hook on the end rail, till the threads are getting inserted completely.
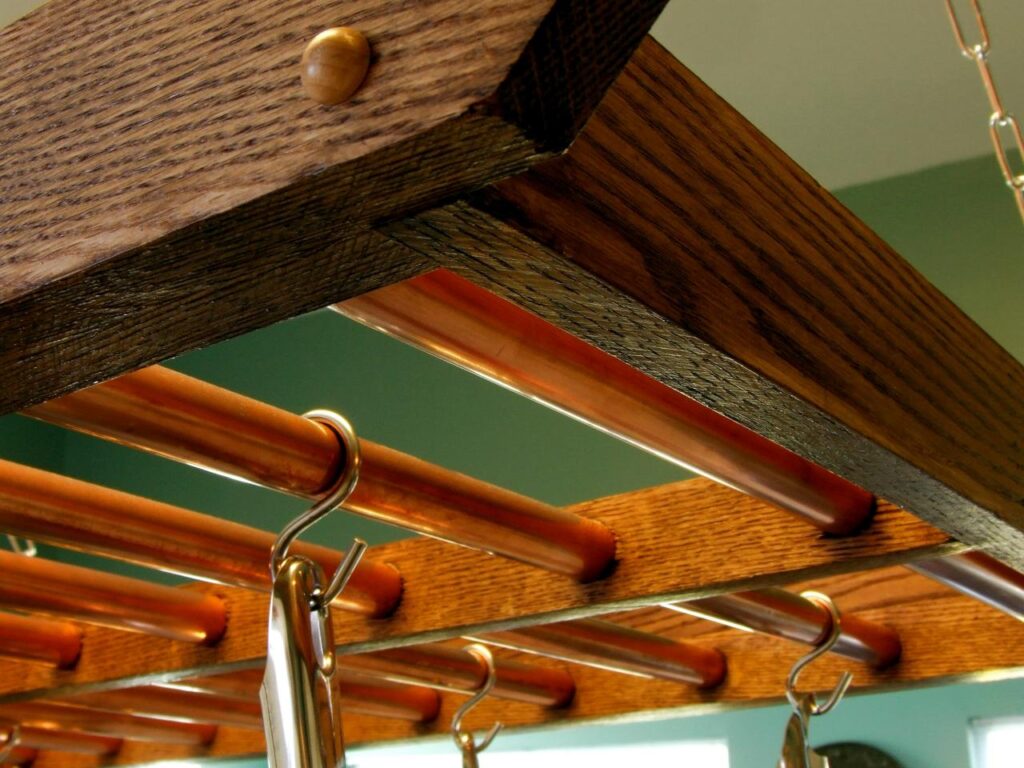
Using a stud finder, you will have to hang up the structure, placing the center chains through the middle link and attach the terminals of the chain to the assembly of the pot rack.